1. Product Description
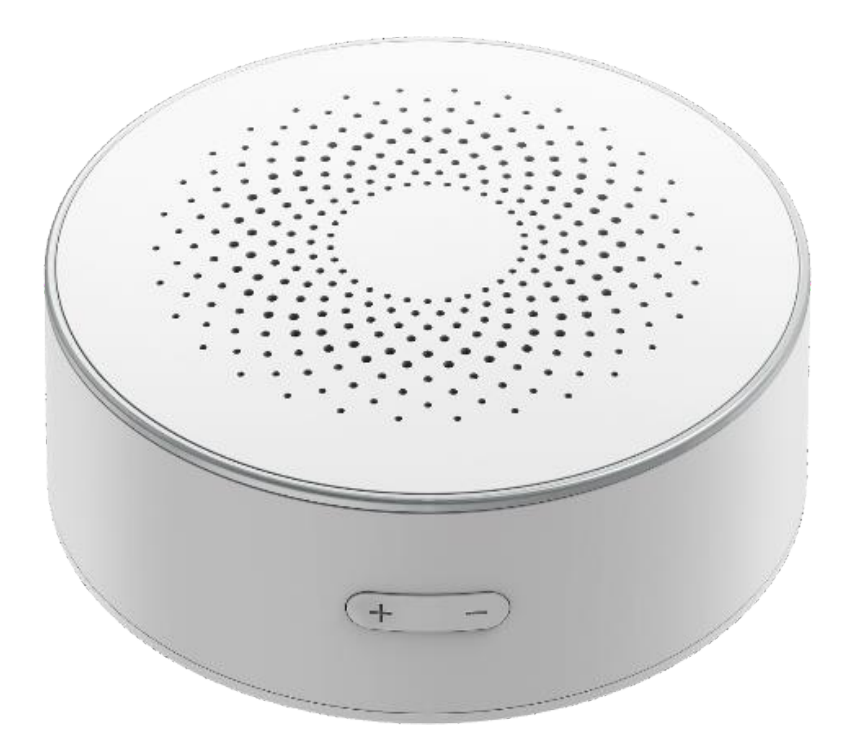
The Smart Siren, powered by Roombanker and utilizing Zigbee 3.0, triggers an immediate alarm when activated to deter intruders. Users can control the alarm system, including enabling or disabling it, through an app, making it a convenient tool for home security. Upon alarm activation, the device emits a high-decibel sound and flashing lights to alert occupants and simultaneously sends alarm information to the user’s phone, enabling prompt response to emergencies. This system utilizes wireless transmission, ensuring swift and easy installation.
- Highly sensitive sensor
- Easy to Install and Set up
- Stay Connected 24*7
- Intelligent early warning
- Anti-white light function
- Low voltage monitoring and indication function.
2. Mechanical Requirement

3. Specification
| Item | Parameter |
|---|---|
| Protocol | Zigbee 3.0 |
| Working Voltage | DC 12V |
| Working Temperature | ‒10°C to +55°C |
| Storage Temperature | ‒25°C to +55°C |
| Standby current | ≤20uA |
| DWorking current | ≤250mA |
| Sound pressure alarm | 85dB |
| Dimension | Ø80 x 35mm |
| Zigbee Performance | ● TX Power: 10 dBm ● Range: 80 meters maximum, open filed Receiving Sensibility:-94dBm ● Frequency offset: +/-20KHZ ● Frequency Range (MHz):2401.0~2483.5 Low Frequency (MHz):2400 ● High Frequency (MHz):2483.5 ● E.i.r.p (Equivalent Isotopically Radiated power) (mW)<100mW Bandwidth (MHz):5MHz ● Modulation: OQPSK |
4. Onboarding
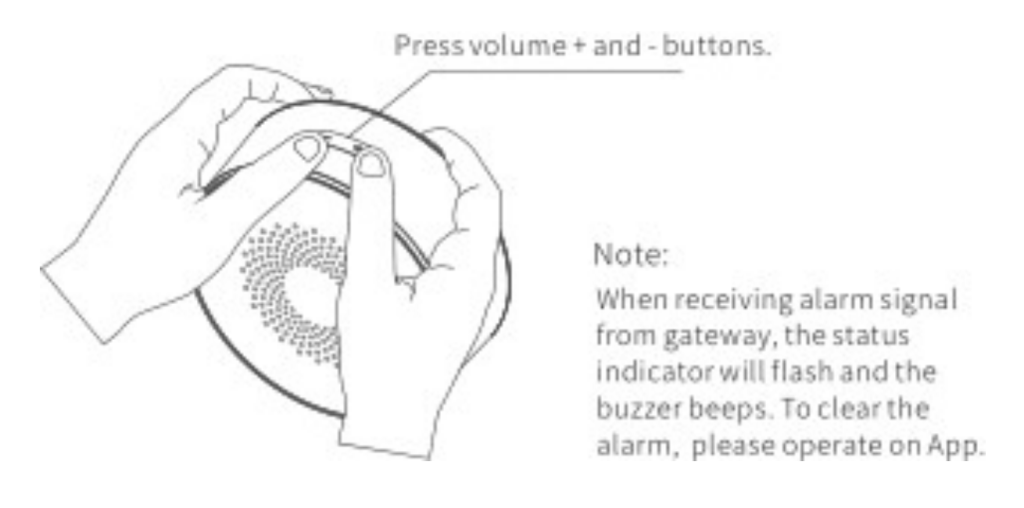
Press the volume+ and volume- at the same time. The red light will be on for 5s. Release the button to set the network, LED flashes for network setting. LED is always on for 3s, then off. If failed, the LED will be off directly.
5. Installation
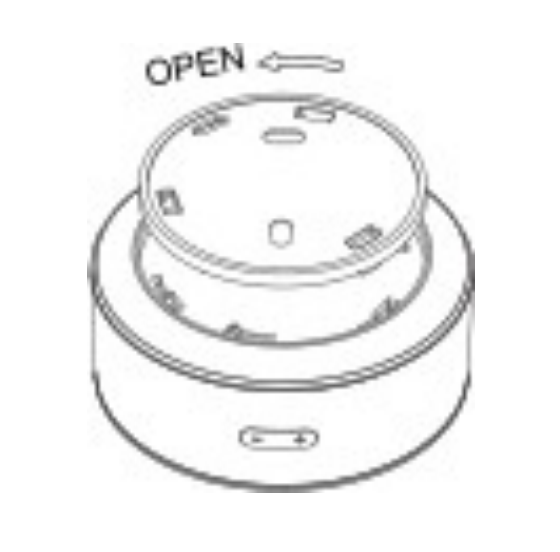
Step 1: Rotate the mounting base counterclockwise to remove it from the product.
Step 2: Power on the product
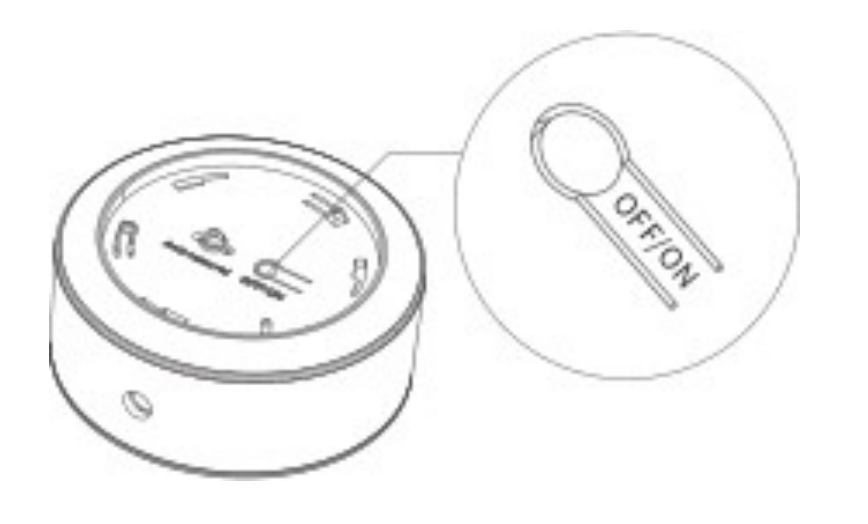
Step 3: Use an expansion tube and screws or a 3M sticker to fix the mounting base on a wall. Rotate the product clockwise into the mounting base.

Step 4: Connect the Siren to the power adapter

