Z-Wave was born from an idea by Danish company Zensys for a simpler, and less expensive, alternative to ZigBee. Z-Wave is a wireless protocol that essentially focuses on connectivity within the smart home. It is a mesh network using low-energy radio waves to communicate from appliance to appliance, allowing for wireless control of residential appliances and other devices, such as lighting control, security systems, thermostats, windows, locks, swimming pools, and garage door openers.
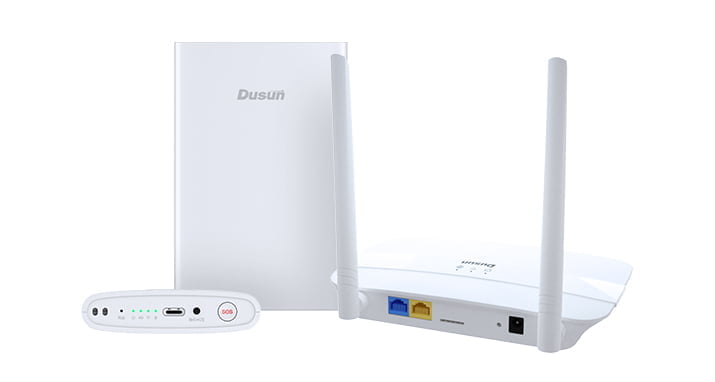
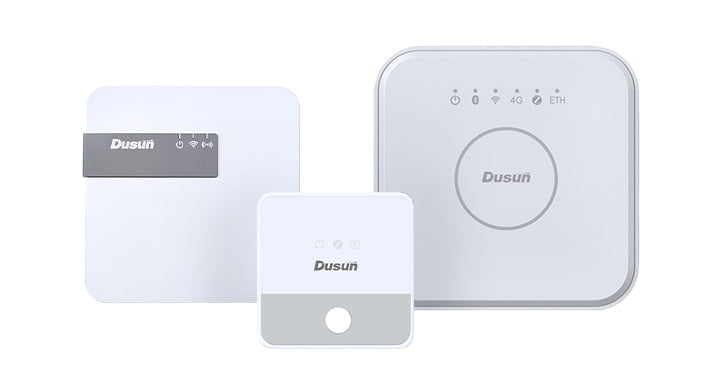
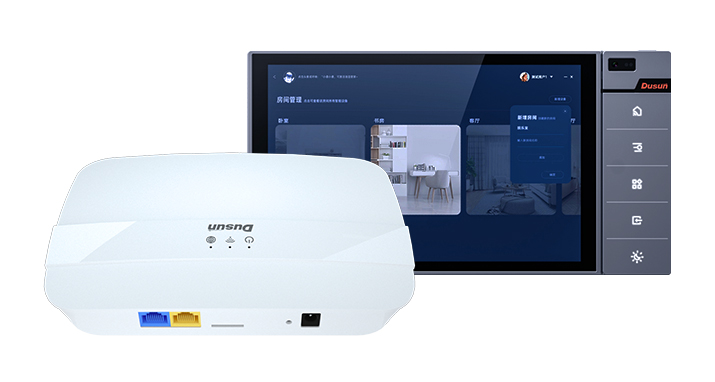
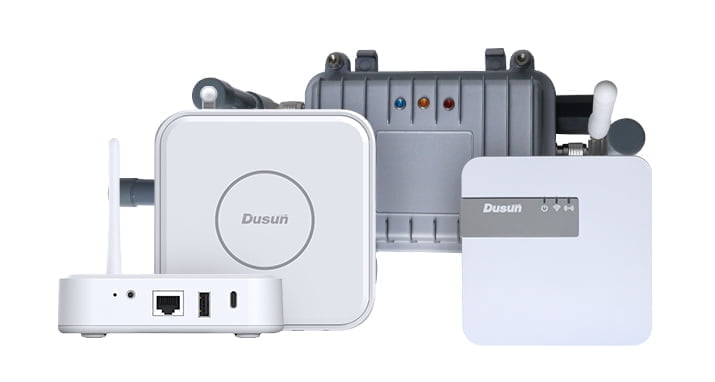
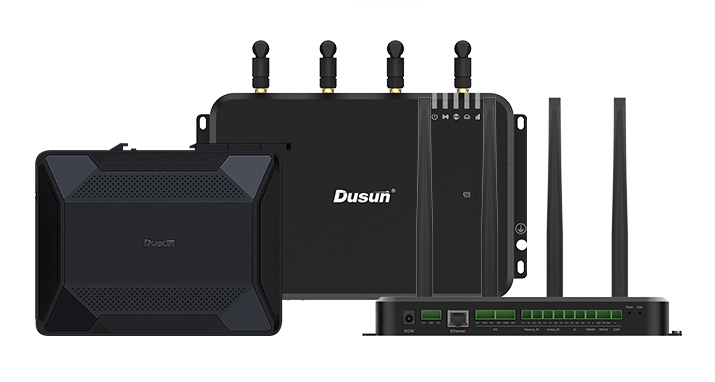
An Z-wave gateway hub aggregates sensor data, translates between sensor protocols, processes sensor data before sending it onward and more. The Dusun Z-wave gateways support most connectivity protocols including BLE(4.x/5.0/Mesh), ZigBee 1.2/3.0, Z-Wave, TCP/UDP, etc.
How to implement an application to ‘talk’ with such Z-Wave sensors and devices on Dusun gateways will be presented here.
1. Product Feature Summary
- OS: Linux@ OpenWrt
- Processor: MTK7620A (MIPS24KEc(580MHZ))
- RAM: 128MB
- Flash: 64MB
- LTE-M1
- Bluetooth
- Wi-Fi
- Zigbee3.0
- Z-Wave
- WLAN
- LAN
2. System block diagram
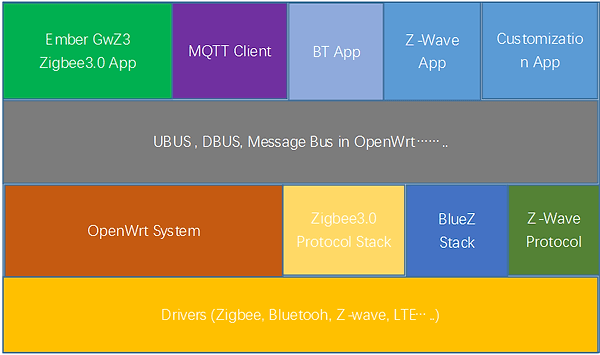
Dusun’s gateways run Linux OpenWrt system. UBUS is a message bus in OpenWrt. Its main function is to realize information exchange between different applications. When UBUS starts, it runs the ubusd process in the background, which listens for a UNIX socket to communicate with other applications. Other applications can communicate with libubox based on the interface provided by libubox (or implemented by themselves). Figure 1 shows the simplified gateway OpenWrt system architecture.
3.System Configuration

The gateway can be configured following these steps:
1) Connect the gateway to the PC and power up, according to figure 2;
2) Open a web browser on PC, Input Gateway IP Address: 192.168.66.1;Enter the username and Password (Username: root Password: root),login to the gateway;
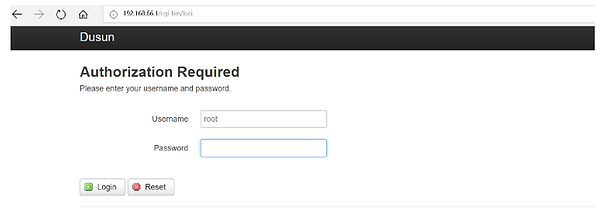
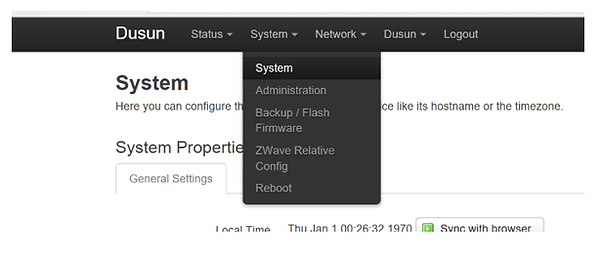
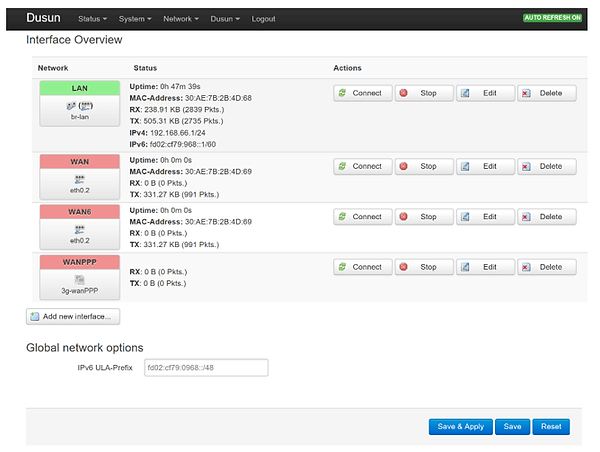
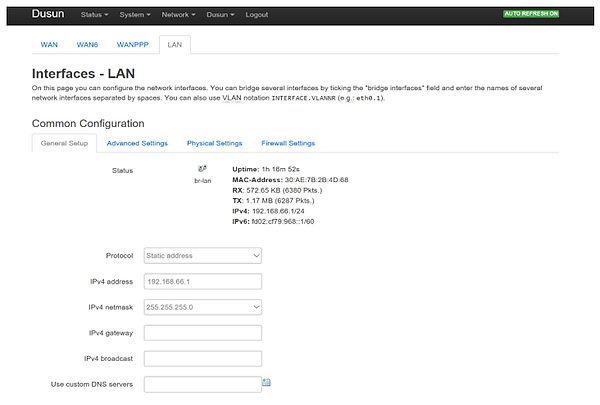
5) Change other settings, such as Z-Wave manage and MQTT settings.
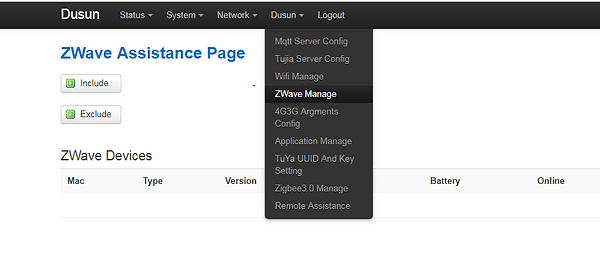
4. Getting Z-Wave sensors/devices data from UBUS
Dusun IoT has provided a library (please see the attached code files) in which a set of APIs can be used to fetch data from the Z-Wave(also Zigbee)sensors/devices. The API library includes the static link library (librbsdk.a) and a corresponding header file (rbsdk.h). The API functions can be seen from the header file (rbsdk.h). Some core functions related to Z-Wave are listed below:
					/*Function to initialize the SDK. */

  int rbsdk_init(void *unused, int (*msgcb)(char *src, char *dest, char *msg));

/*Function to get the SDK version. */

  int rbsdk_vers(char *version);

/*Function to request gateway to allow pairing new device. */

  int rbsdk_zw_include();

/*Function to request gateway to unpair device. */

  int rbsdk_zw_exclude();

/*Function to request Z-Wave device list. */

  int rbsdk_zw_devlist();

/*Function to request Z-Wave netinfo. */

  int rbsdk_zw_netinfo();‘

/*Function to request Z-Wave to delete a node. */

  int rbsdk_zw_del_node(char *mac);

/*Function to request Z-Wave gateway to send class command to device. */

  int rbsdk_zw_class_cmd(char *mac, int ep, int class, int cmd, char *data, int len);

/*Function to set the Z-wave message callback. */

  int rbsdk_zw_msgcb_set(stZwMsgCb_t *zmc);
5. A sample: communicate with a light switch Z-Wave sensor using the APIs
The code below shows how to use the provided APIs to set or get a light switch Z-Wave contact sensor data. First, we should initialize the SDK by calling rbsdk_init(NULL, NULL); Then, we write four callback functions and fill a stZwMsgCb_t struct which is used by rbsdk_zw_msgcb_set to set the callback functions. We will get the data when the callback functions are invoking. For example, the rpt_zwdev_cmd function can print the command details reported by a Z-Wave device. The rbsdk_zw_class_cmd function can be used to send messages or command to Z-Wave devices. Cmd.c (in the code files) includes several command functions which show how to use the API functions. When the test program is running, if we type “include” in the console, the do_cmd_include function will be invoked and then the API function rbsdk_zw_include() will be called to allow a Z-Wave device to pair with the Z-wave Gateway.
					#include

#include

#include "rbsdk.h"

int rpt_zwdev_added(char *mac, const char *epstr) {

log_info("[%s] - epstr:%s", mac, epstr);

return 0;

}

int rpt_zwdev_deled(char *mac) {

log_info("[%s] - ", mac);

return 0;

}


int rpt_zwdev_online(char *mac, int online) {

log_info("[%s] - online:%d", mac, online);

return 0;

}


int rpt_zwdev_cmd(char *mac, int ep, int class, int cmd, char *buf, int len) {

log_info("[%s] - ep:%d, class:%02X, cmd:%02X", mac, ep&0xff, class&0xff, cmd&0xff);

log_debug_hex("buf:", buf, len);

return 0;

}

int main(int argc, char *argv[]) {


rbsdk_init(NULL, NULL);


char sver[32];

rbsdk_vers(sver);

log_info("rbsdk version : %s\n", sver);


    //omit the ZigBee part;

    //create a stZwMsgCb struct in which the callback functions needs to be set here.

stZwMsgCb_t zmc = {

.rpt_zwdev_added = rpt_zwdev_added,

.rpt_zwdev_deled = rpt_zwdev_deled,

.rpt_zwdev_online = rpt_zwdev_online,

.rpt_zwdev_cmd  = rpt_zwdev_cmd,

};

rbsdk_zw_msgcb_set(&zmc);


while (1) {

fd_set fds;

FD_ZERO(&fds);

FD_SET(0, &fds);

struct timeval tv;

tv.tv_sec = 4;

tv.tv_usec = 80;

int ret = select(0 + 1, &fds, NULL, NULL, &tv);

if (ret <= 0) {

continue;

}

extern void cmd_in(void *arg, int fd);

//wait command to send data to the zwave device;

cmd_in(NULL, 0);

}

return 0;

}

static stCmd_t cmds[] = {

{"exit", do_cmd_exit, "exit the programe!"},

{"help", do_cmd_help, "help info"},

{"permit", do_cmd_permit, "permit add device"},

{"include", do_cmd_include, "include zwave device"},

{"exclude", do_cmd_exclude, "exclude zwave device"},

{"zcmd", do_cmd_class_cmd, "execute class cmd command, cmd    "},

{"zinfo", do_cmd_zinfo, "get zwave netinfo"},

};

void do_cmd_include(char *argv[], int argc) {

log_debug(" ");

rbsdk_zw_include();

}

void do_cmd_exclude(char *argv[], int argc) {

log_debug(" ");

rbsdk_zw_exclude();

}

void do_cmd_zinfo(char *argv[], int argc) {

log_debug(" ");

rbsdk_zw_netinfo();

}

void do_cmd_class_cmd(char *argv[], int argc)

if (argc < 6) {

log_debug("zcmd     ");

return;

}

char *mac = argv[1];

int ep = atoi(argv[2])&0xff;

int class = atoi(argv[3])&0xff;

int cmd = atoi(argv[4])&0xff;

char *datastr = argv[5];

char data[256];


int len = _hex_parse((unsigned char *)data, sizeof(data), datastr, 0);

if (len < 0) {

log_debug("zcmd     ");

return;

}


rbsdk_zw_class_cmd(mac, ep, class, cmd, data, len);

}
1) Get the Openwork toolchain and copy it to a Linux PC.
Get the cross-compile OpenWrt-Toolchain from Dusun, whose name is openwrt-sdk-ramips-mt7620_gcc-4.8-linaro_uClibc-0.9.33.2. Linux-x86_64.tar.bz2. Decompress the downloaded OpenWrt Toolchain to a local folder (E.g.: home/software/OpenWrt-SDK).
2) Compiled the attached code files.
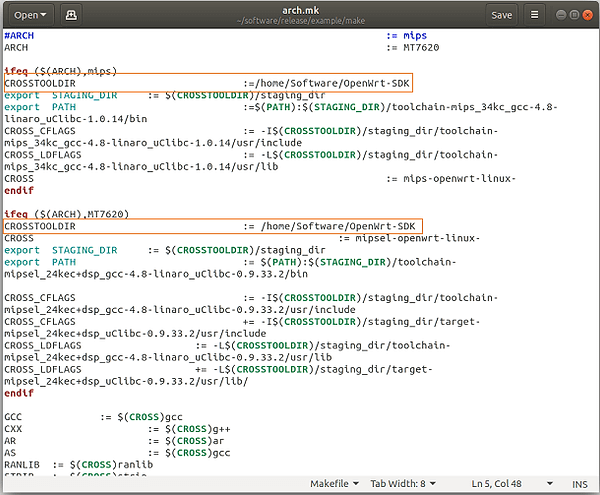
Copy the above code file to the Linux PC and decompress it to a folder (E.g.: home/software/test). Open ./test/example/make folder, and edit the arch.mk file to revise the CROSSTOOLDIR to the OpenWrt toolchain directory you created above. This is depicted in Figure 3.
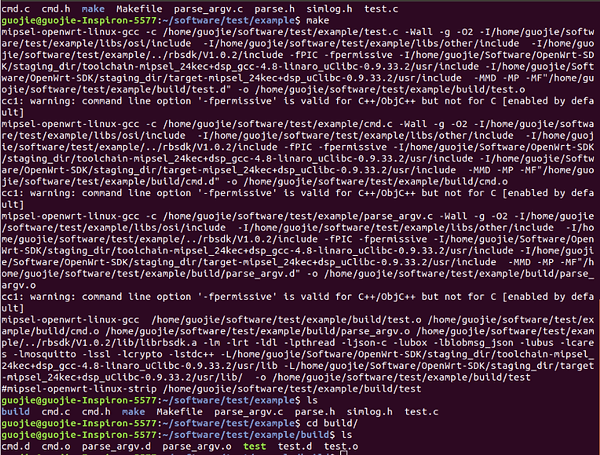
Then open a terminal on the Linux PC, and type the following commands:
cd /home/software/test/example
make
cd build
Finally, the test bin file which can be run in the gateway has been compiled. (Figure 4).
3) Copy the compiled test bin file into the gateway and run it.
There are some ways one can do it. Under Linux PC, you can use SCP command (scp local_file remote_username @remote_ip:remote_folder) to do it. Make sure the gateway is connected to the same router with PC, then run the following commands:
scp /home/software/test/example/test [email protected]:/user/bin
Then remote login to the gateway using SSH commands or SSH client (windows: putty or SecureCrt) and run the copied bin file. The login password can be revised following the configuration steps in the above sections.
4) Joining the sensor to the gateway.
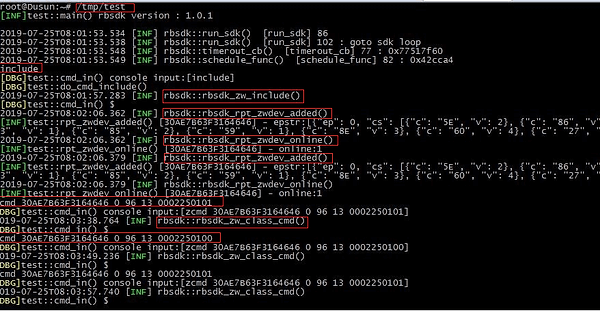
Run the compiled test execute file (Figure 7 line 1).
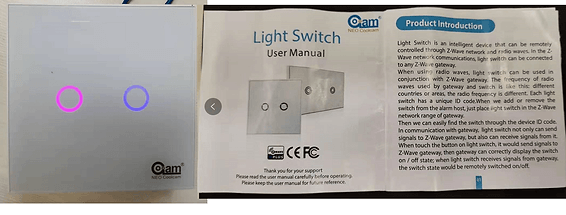
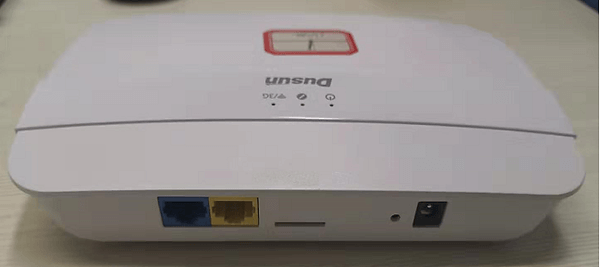
Power up the light switch sensor and press any one button three times to start pairing with the gateway (figure 5, 6). Then run include command in the terminal (Figure 7 line 7). We can see the callback functions rpt_zwdev_added/ rpt_zwdev_online are invoked and print the device information including the mac address(30AE7B63F3164646). We then input the flowing command on the console (Figure 7):
cmd 30AE7B63F3164646 0 96 13 0002250100
cmd 30AE7B63F3164646 0 96 13 0002250101
It is can be seen that sensor button status has changed twice. The rbsdk_zw_class_cmd API function was used to send the command data. Please check do_cmd_class_cmd() function listed above for more detail. The sensor data format can be checked in the sensor user manual and Z-Wave manual. (0002250101 00: fixed; 02: button 2;25 class number; 01: command; 01: switch status on)
